Using WordPress/Cloudflare I wanted my website webserver to be hit as infrequently as possible and have most of the traffic that visits my site hit Cloudflare and serve as little repeat requests as I possibly can from my end.
I embarked on a journey to enhance my site’s performance significantly by having Cloudflare serve as much of it as possible and although Cloudflare has it’s disadvantages it’s generally pretty good as a global point of presence. For WordPress I used plugins W3 Total Cache, and Debloat: Optimize, achieving markedly improved load times but there was a bit of trial and error, these are good caching tools for my site, but only really good for people local to me (because Cloudflare has a global delivery network), so I also stuck Cloudflare at the edge to serve the page.
The performance improvement is good, and can be as low as 90ms from what was previously a few seconds (around 1.4-1.6 seconds when served directly from my webserver to a London VPS).
Leveraging Cloudflare’s Proxying and Caching
Cloudflare has a pretty good content delivery network (CDN) that offers caching and proxying services. Here’s how I set it up:
- By routing my traffic through Cloudflare’s servers.
- In the Cloudflare dashboard, I set a page rule to cache everything with a Time-To-Live (TTL) of one month. This caching strategy means that once a resource is cached, it stays cached for 30 days.
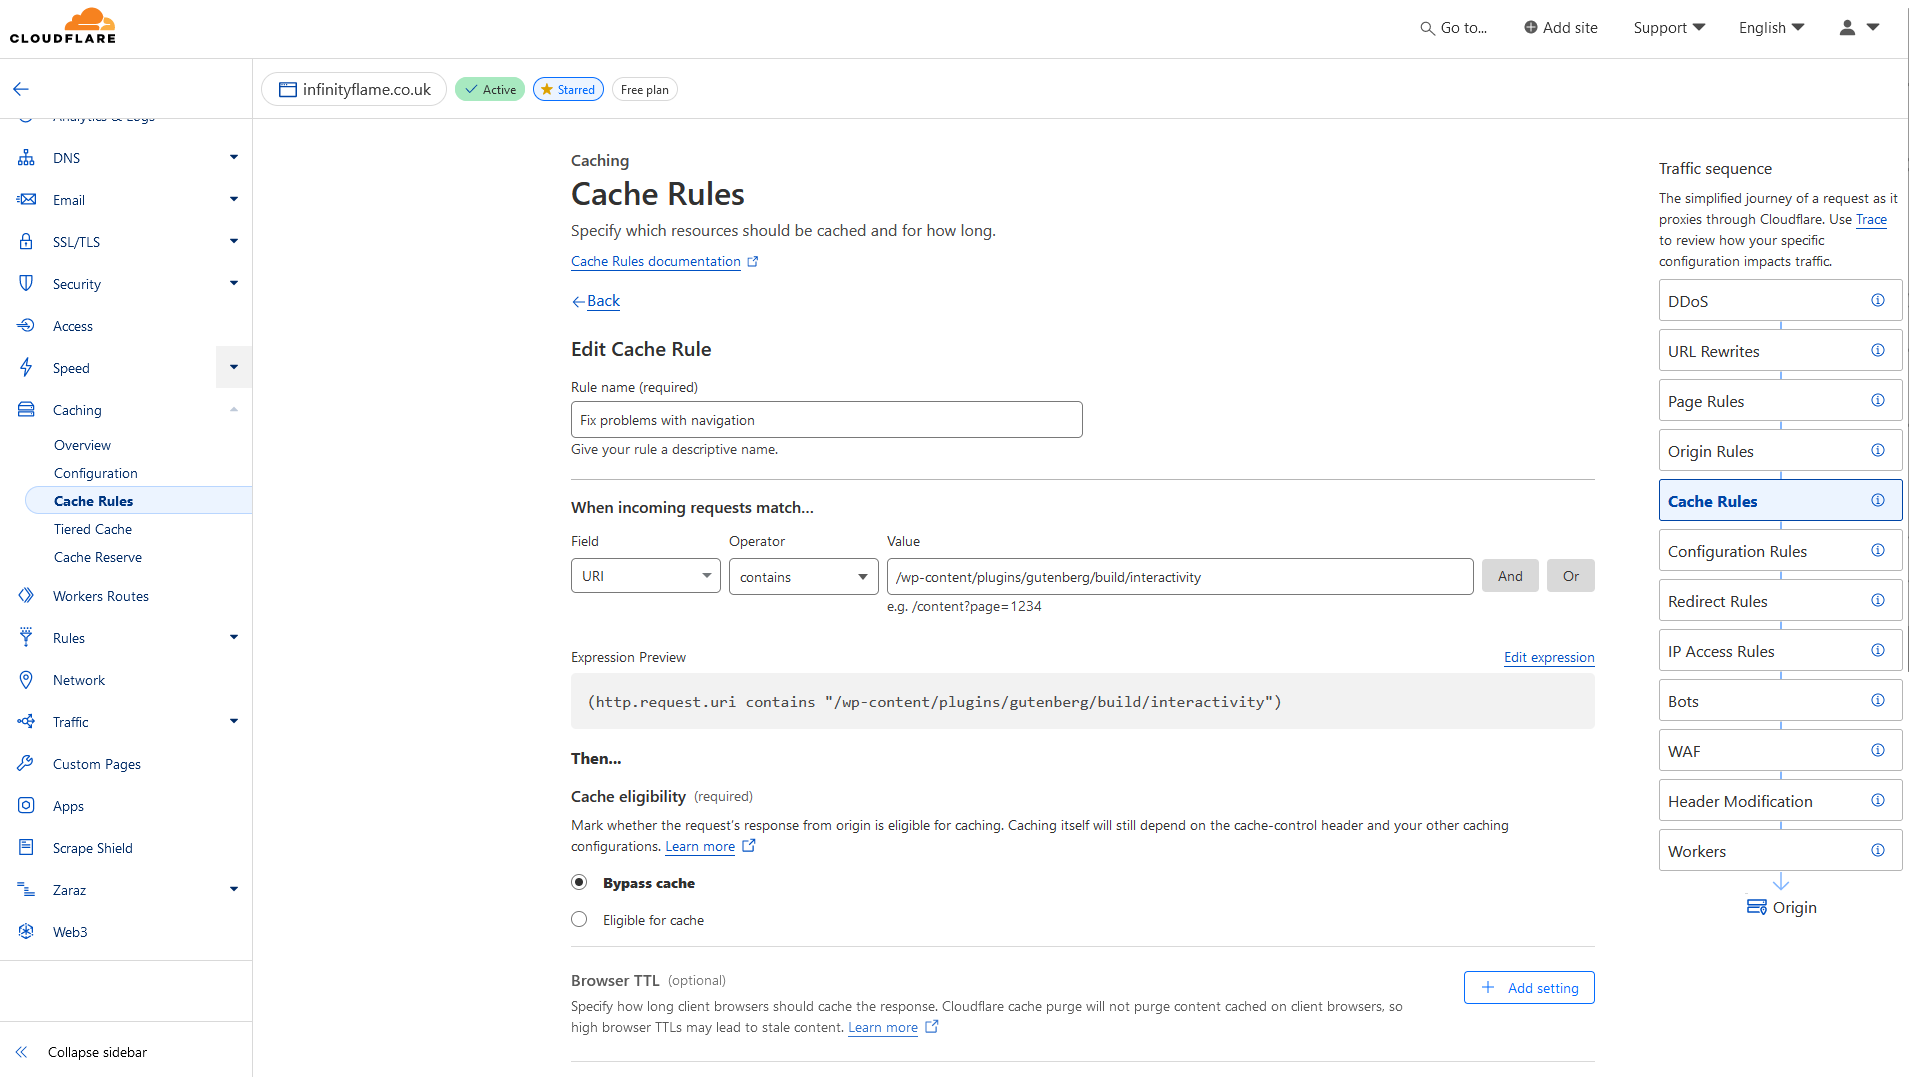
- On the free Cloudflare plan the Cache Rules are limited to 10 rules per site. I set my rules to cache the whole site, but exclude any incoming requests with the WordPress Cookie. This would be problematic for any large sites with a lot of logged in users, but I don’t have any so perfect for me. I also set up a rule to exclude caching some of the Gutenberg plugin build css/js to fix issues with navigation. For anonymous users, the aggressive caching remains in effect, delivering cached content for optimal speed.

Development Mode for Testing
While configuring caching, I tested changes without caching interfering by using Cloudflare’s Development Mode to temporarily bypass the cache so I could see realtime changes when tweaking the W3 Total Cache settings.
Once I had everything working, and realised what was broken, I excluded broken plugin files from caching and minification and then enabled the caching on Cloudflares end.
Using these two plugins, I would then look at the page source and CF-Cache-Status headers to see the new response speed and lighthouse performance.
A common pitfall is to just cache everything, you will probably find you can’t login or parts of the site don’t work, so its important to triall and error the site, go through it’s features and understand what doesn’t work and needs to be excluded from minification in the CSS and JS, especially for plugin heavy sites.
Caching and Performance Optimiziation
For WordPress Caching I used the plugins W3 Total Cache and Debloat because they were on the plugin store and free, which was all I cared about really.
Where possible I serve static HTML versions of my pages. This is to reduce PHP execution time and database queries, resulting in faster load times.
That was basically all I needed W3 Total Cache for . All of the minification of JavaScript and removal of CSS that wasn’t used in my themes etc I used Debloat over W3 Total Cache. Although in hindsight W3 maybe could have done this role too.
When the site loads and you aren’t served any caches (Cache MISS etc), you obviously get a lot slower response as the caching and minification is compiled and served, so your time to first byte is abysmal, but after that Cloudflare should have a cached copy to serve in as little as a few miliseconds.
It would be extremely better if I removed the advertising code to take some of the compute off the main thread, and all the cookie notice stuff but I won’t for money reasons sorry.
There is always room for improvement.
Aidan.
